Caramel Apples!
 Caramel apples are one of those mysterious things that I always see in the stores, and they are extremely expensive, but I always have to buy one every fall season because, hello, they are amazing.
This year I thought to myself, "Why the heck haven't I attempted to make my own caramel apples? They seem easy enough!"
And so, the first annual Lindsay's Caramel Apple Party was born! If you haven't made these before, I highly recommend that you do so. This was such a fun thing for my girlfriends and myself to do together. I provided the apples and caramel, and everyone brought a topping! Some of the toppings that we had were marshmallows, graham crackers, crushed nuts, toffee, and I even melted some chocolate to drizzle over the caramel! So decadent!
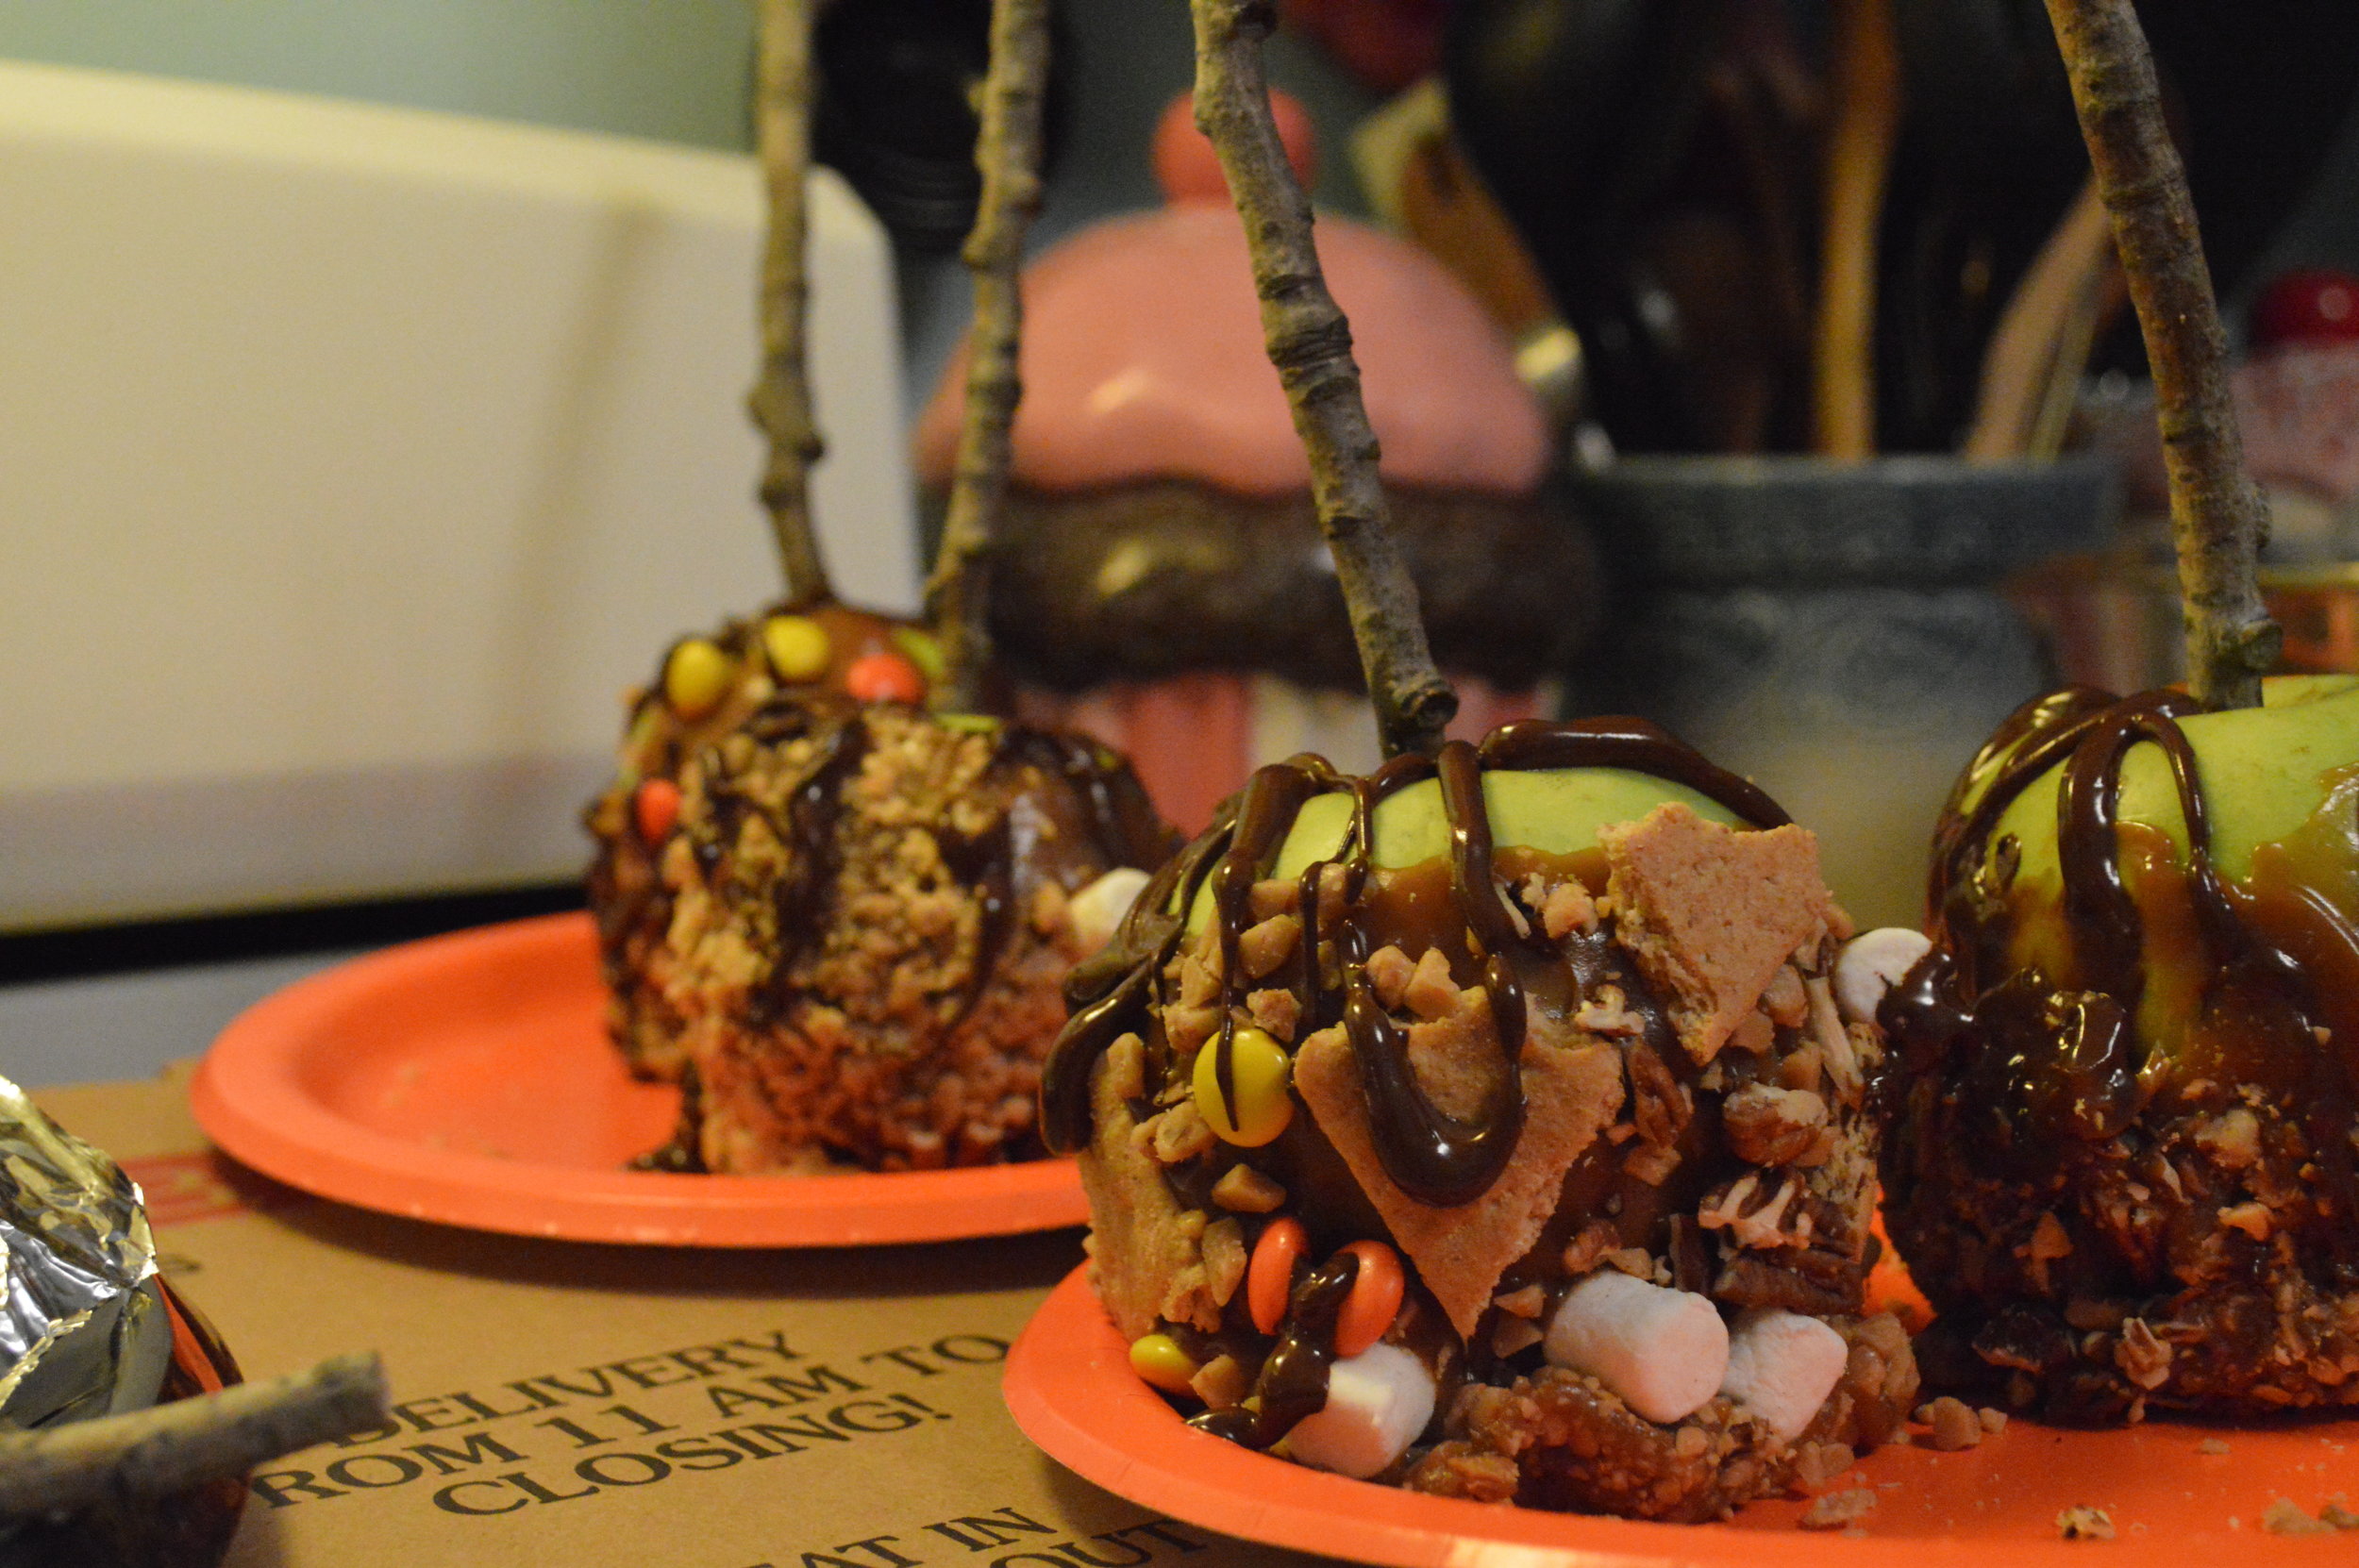
The spread was pretty impressive...

How cute are the apples? Nicholas and I went for a hike a few weeks prior to this, and I collected some great sticks to use instead of sucker sticks to hold while dipping the apples. All they needed was a good scrubbing, and they worked perfectly! I think it really added to the "fall-ness" of the party.
The recipe that I used for the caramel was so easy and delicious! I bought those individually wrapped caramels to use in case I totally effed this recipe up, but it was pretty much fool-proof and turned out great! Here is the recipe:

Caramel Apples (from Our Best Bites)
1 pound dark brown sugar (about 2 cups packed brown sugar) 2 sticks unsalted butter 1 14-ounce can sweetened condensed milk 2/3 cup corn syrup 1/3 cup pure maple syrup (use the good stuff!) 1 1/2 teaspoons vanilla extract 1 teaspoon molasses 1/4 teaspoon salt
Directions:
Wash and dry apples; place sticks in cores and place on a baking sheet in the fridge to chill. Prepare all toppings in bowls and have them ready to go.
To prepare caramel, combine first 8 ingredients in heavy 2 1/2-quart nonstick saucepan (about 3-4 inches deep, at least). Stir with wooden or silicone spatula over medium-low heat until sugar dissolves (no crystals are felt when caramel is rubbed between fingers), occasionally brushing down sides of pan with wet pastry brush or scraping with spatula, about 15 minutes.
Attach a clip-on candy thermometer to side of pan. Increase heat to medium-high; cook caramel at rolling boil until thermometer registers 236°F, stirring constantly but slowly with clean spatula and occasionally brushing/scraping down sides of pan, about 12 minutes. Pour caramel into a bowl. Submerge thermometer bulb in caramel. Cool to 200°F, about 20 minutes. If it cools too much just heat it up a little.
While caramel cools, line 1-2 baking sheets with silicone baking mats or buttered foil. Set up decorations and melted chocolates.
Holding stick, dip 1 apple into 200°F caramel, submerging all but very top of apple. Lift apple out, allowing excess caramel to drip back into bowl. Turn apple caramel side up and hold for several seconds to help set caramel around apple. If needed, gently scrape the bottom of the apple to remove excess caramel. Place coated apple on prepared baking sheet. Repeat with remaining apples and caramel, spacing apples apart (caramel will pool a bit on foil). If caramel becomes too thick to dip into, gently heat in microwave, or add 1 to 2 tablespoons whipping cream and briefly whisk caramel in bowl over low heat to thin.
By the time you have dipped all the apples, the first ones should be ready partially set enough to add toppings. If not, chill in fridge for a few minutes. Lift 1 apple from foil. Using hand, press pooled caramel around apple. Then firmly press decorations into the caramel and return to baking sheet.
This was enough caramel to dip all of the apples in the picture (15 small apples), plus one banana.
And here's all of us with our creations!
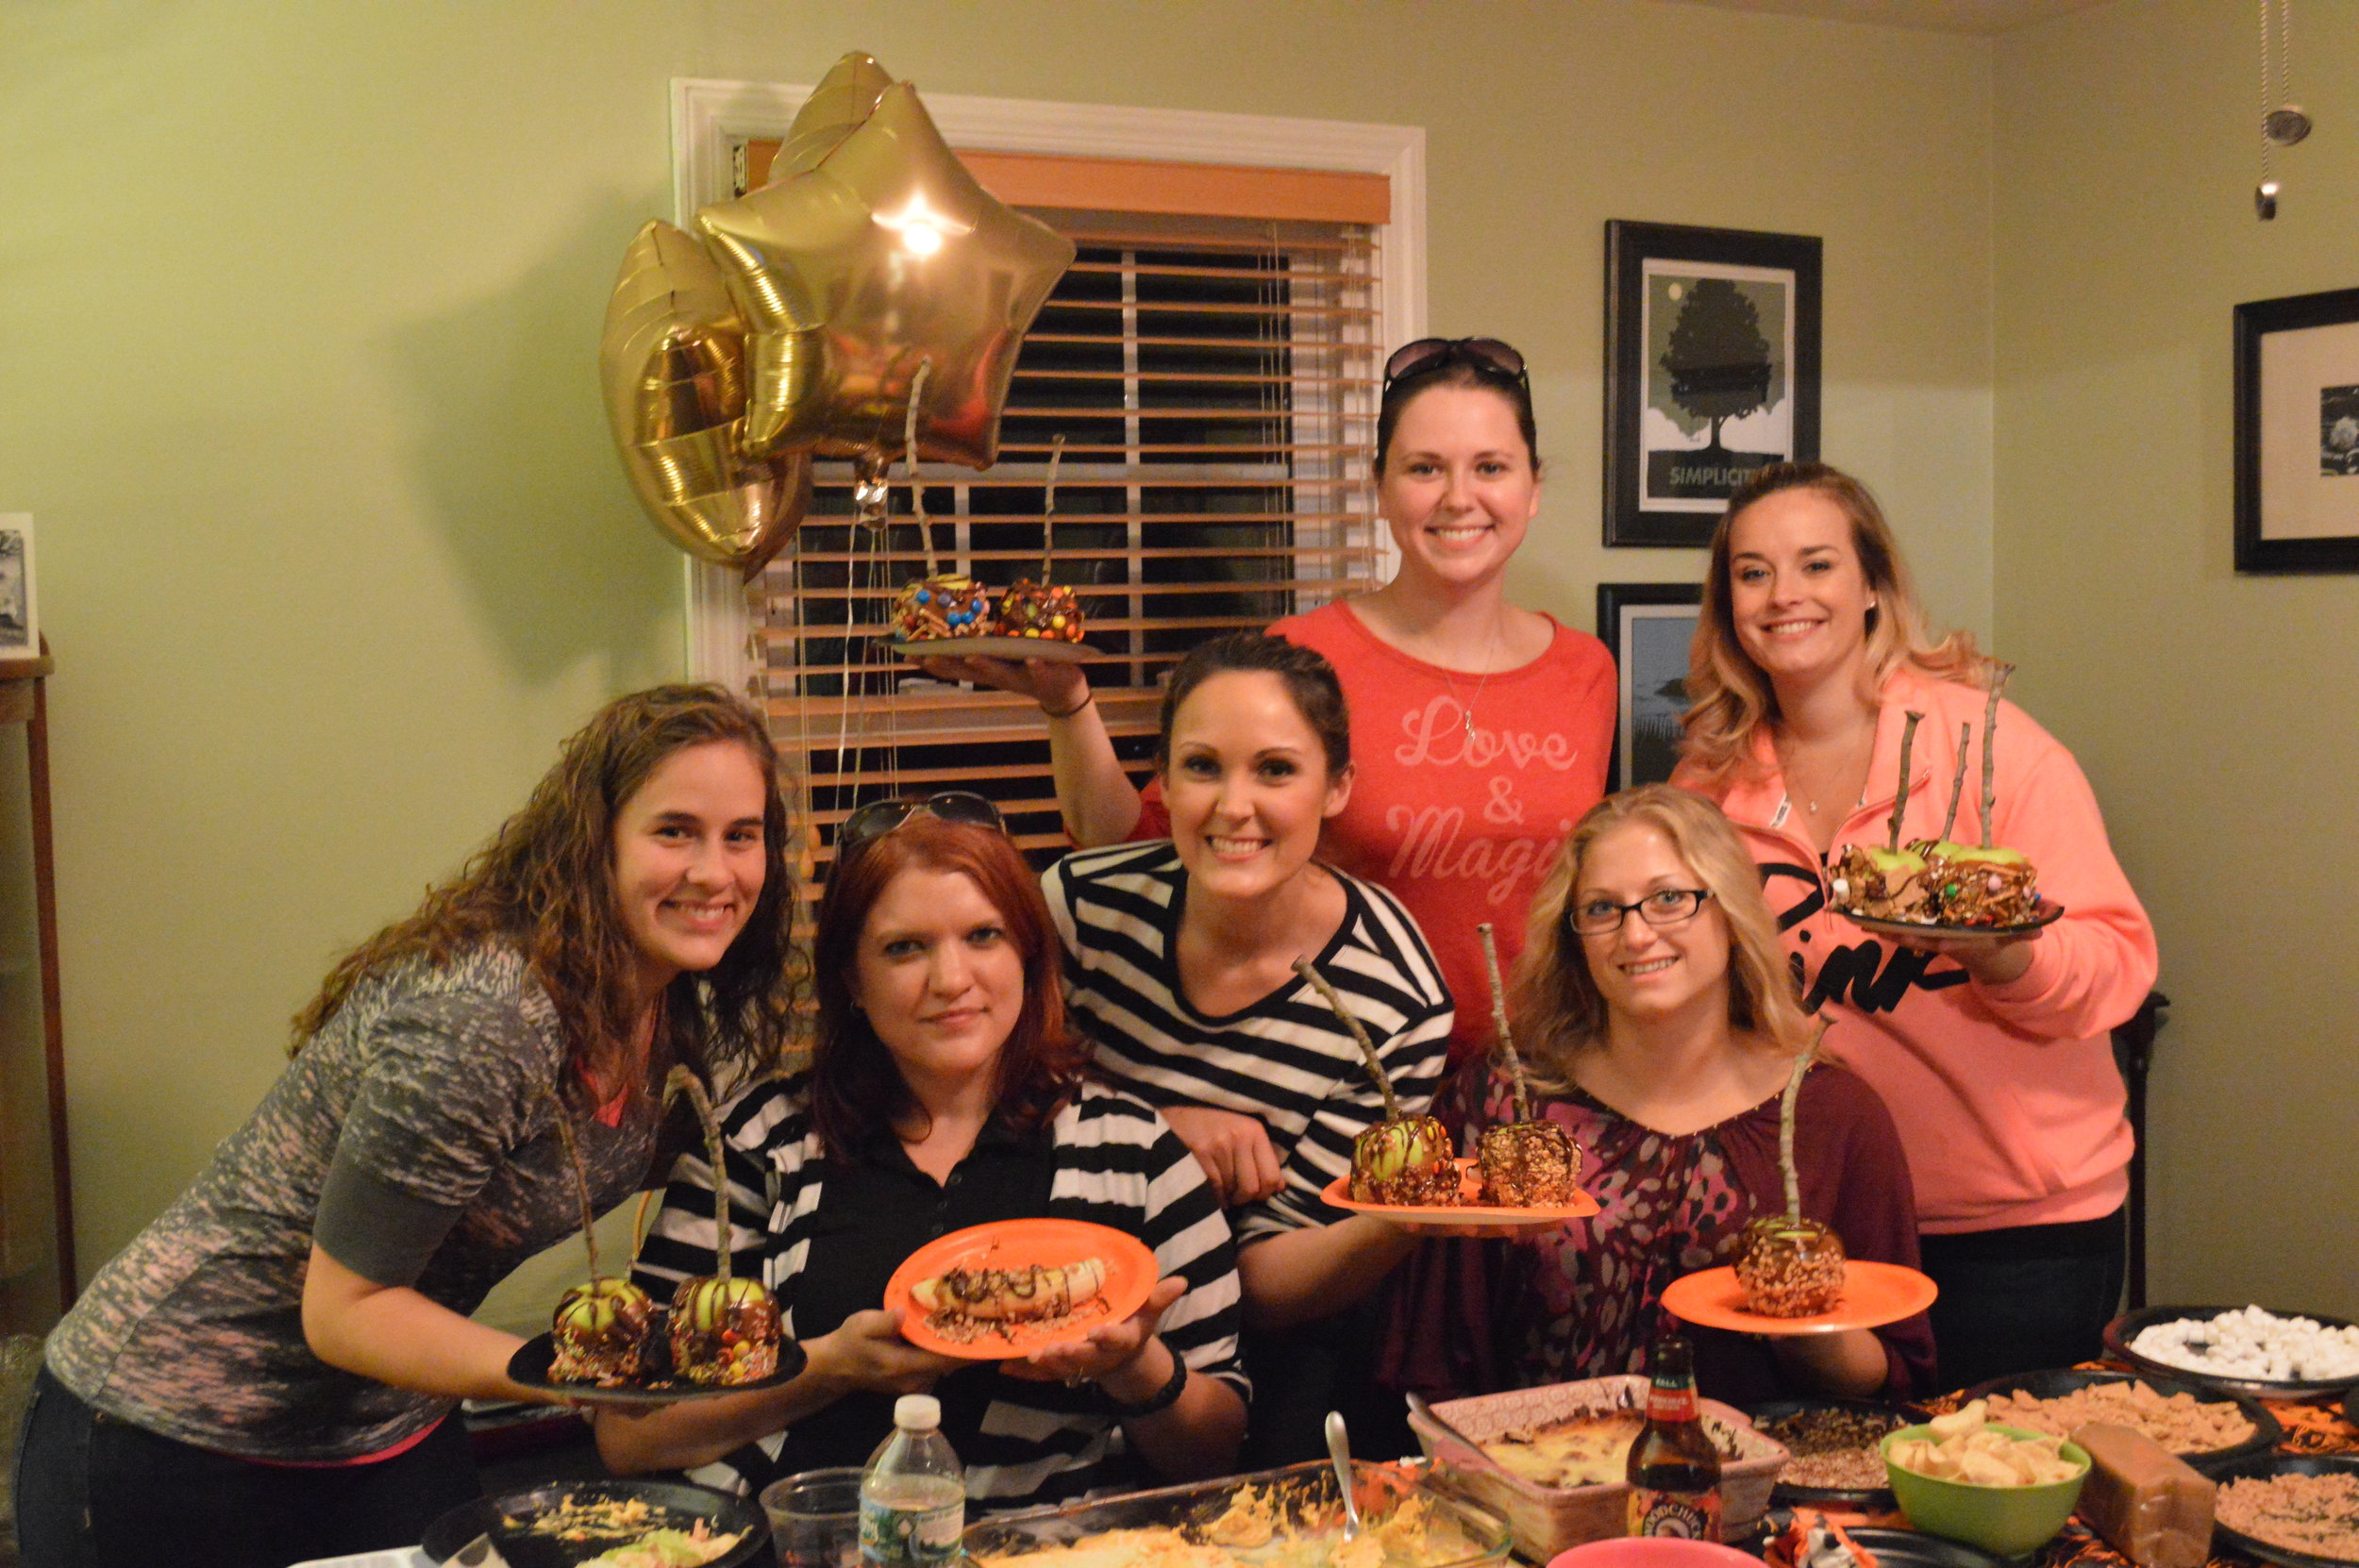
It was such a fun evening! And the apples were AMAZING!